Showing posts with label choose your own adventure. Show all posts

Sunday, May 22, 2016

Choose Your Own Adventure Prewriting Lesson 5: Submitting

How to get a word count for Power Point

It is hard to get an accurate word count for PowerPoint. A quick search of the Internet shows that the

suggested method of selecting the file's properties and then looking in details is inaccurate. However, since I asked for a minimum of 1000 words for the presentation and I wanted it ran through turnitin.com, I wanted to make sure I could get the word count receipt.

Students need only convert the PPT to PDF and then submit the PDF to turnitin.com.* It will check the originality and count every word. Students turn in the receipt and the actual presentation to Edmodo.

*I checked turnitin.com with a simple submission of the PowerPoint presentation without it being converted to PDF and it reflected the same word count found when using the properties feature.


Example from PPT using word count the properties>details feature vs. converting to PDF and using turnitin.com: 


Word count using properties: 50
Word count using PDF version on Turnitin.com: 1,728

Choose Your Own Adventure Revising and Editing Lesson 4: Beta Testing

After students complete the presentation, students participated in "Beta Testing" which is similar to the conferencing and revising found in writing workshop.

Each presentation needed two people to beta testers. I had them fill out a beta testing form:
Beta Testing

Owner of the presentation: Set your presentation to presentation mode.
Beta tester: click through the presentation. If you need to uncover a slide number, you can press the ESC key, record the number, and then resume presentation from that slide

Does the PPT have 2 deviations (5 for partners)?

Does the PPT have 3 themes that seem accurate (6 for partners?)

Issues with hyperlinks: (ex: it doesn’t work, description doesn’t lead you to the slide that would make sense, etc.)

Accuracy issues:

Spelling or grammar issues (make sure to include slide numbers!):

Areas where you would like more details, info, imagery, dialogue (this may  not be for everyone, but you should especially let people know if their storylines feel skimpy)


Wednesday, May 18, 2016

Choose Your Own Adventure Formatting and Drafting Lesson 3: Set up PPT, Hyperlinking, Narrative Voice

Now that you finished index cards that follow the plot as well as those that deviate,  it is time to start creating the the PowerPoint, make hyperlinks, and draft.


Choose Your Own Adventure Prewriting Lesson 2: Create deviations from the plot

After completing day one of prewriting, it is on to day two: Deviation day! The kids love playing the "what if?" game and not only get a good dose of creative writing but also are secretly analyzing how those decisions influence theme.

1. In my example, the plot took 8 cards, so I model with my first deviation and have that become card 9. I also show students how, if they want, they could have deviations within deviations.
2. Students determine the new theme. (see my method of teaching theme here)
3. I do make sure each child has only one of each card and lays out their outline to show how it makes sense. 
adding in the deviations


Go to the next day, creating the PowerPoints, linking, and drafting. 

Choose Your Own Adventure Prewriting Lesson 1: Set up the plot

What a way to get kids to work and enjoy themselves at the same time! Students liken this project to writing fanfiction. So many of them are so excited after our first day that they tell me "I can't wait for tomorrow!" In my version, students create Choose Your Own Adventure PowerPoints (Google districts can use Slides, of course) for A Midsummer Night's Dream. This is, to me, a great project for a Shakespeare play. What makes this different than the typical Choose Your Own Adventure is that my students are working from a text they have read, thus making this both creative writing as well as reading comprehension and analysis all in one. 

What Choose Your Own Adventure asks students to do:

- review a plot of the play
- write prose paraphrasing the poetic drama
- show an understanding of the plot following one character
- creatively write deviations from the main plot
- determine a potential theme of the play and how the theme changes if a character's actions change
- use Hyperlinks within a presentation to go to non-linear slides


Overview:

Day 1: create cards for accurate timeline
Day 2: create cards for deviations
Day 3: set up slides and hyperlinks
Day 4: draft accurate timeline
Day 5: draft deviations
Day 6: beta testing with revising
Day 7: submission

Day One:

1. I showed students a couple slides of an example. This gives students the big picture. The
example I use is for Theseus because students have to use a main character and Theseus, being a minor character, works well to model without giving or "stealing" the students' ideas. 
2. Students select a main character and write that name at the top of the paper. 
3. Students write a chronological list of all the decisions that character makes through the play. I encourage my students to use scene summaries and the play itself. I also have them sitting next to people who are doing the same character if they choose. That way they discuss and clarify what happened. I did set the students on a 10 minute timer for this portion so they would not lollygag. 
4. Modeling with my list of options by Theseus, I selected three places where I will have a deviation. The requirement for my students were 2 deviations which leads to 3 separate themes with a total of 1000 words if they worked as individuals and 5 deviations which leads to 6 separate themes with a total of 2000 words if they work in partners. Students selected theirs. I encouraged students who want to do more and make things more complex to do so.
5. With my own index cards I modeled creating just the timeline for what actually happened in the play. I leave the deviations blank. I model a couple cards and then showed the kids my completed set of 8. The rest of the class time was for the kids to finish theirs.  

Don't forget to see what I do Day 2 and Day 3. 


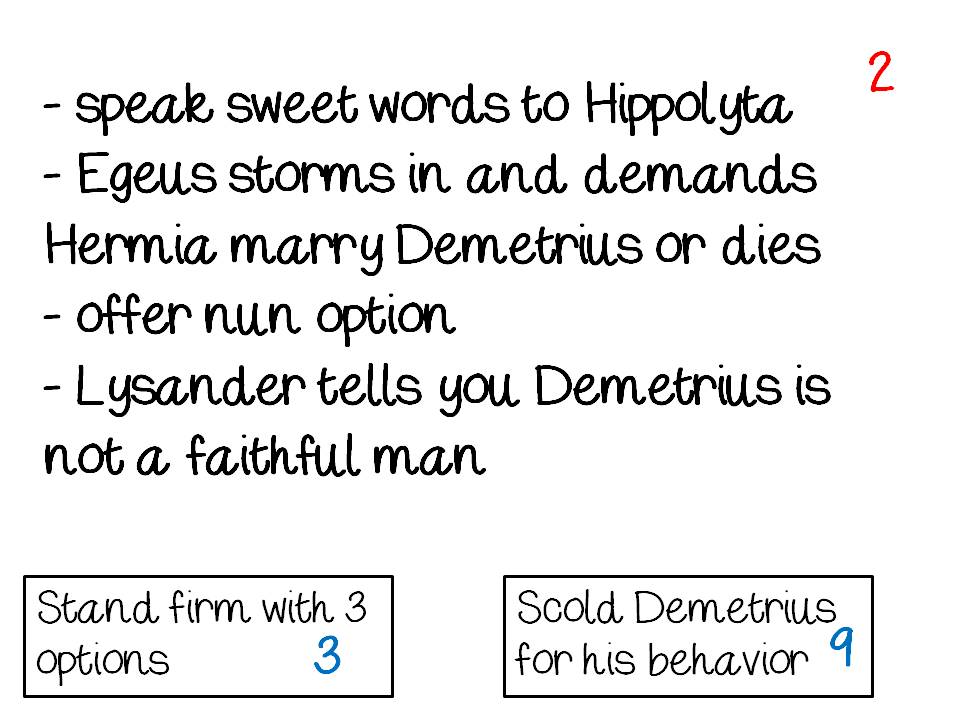
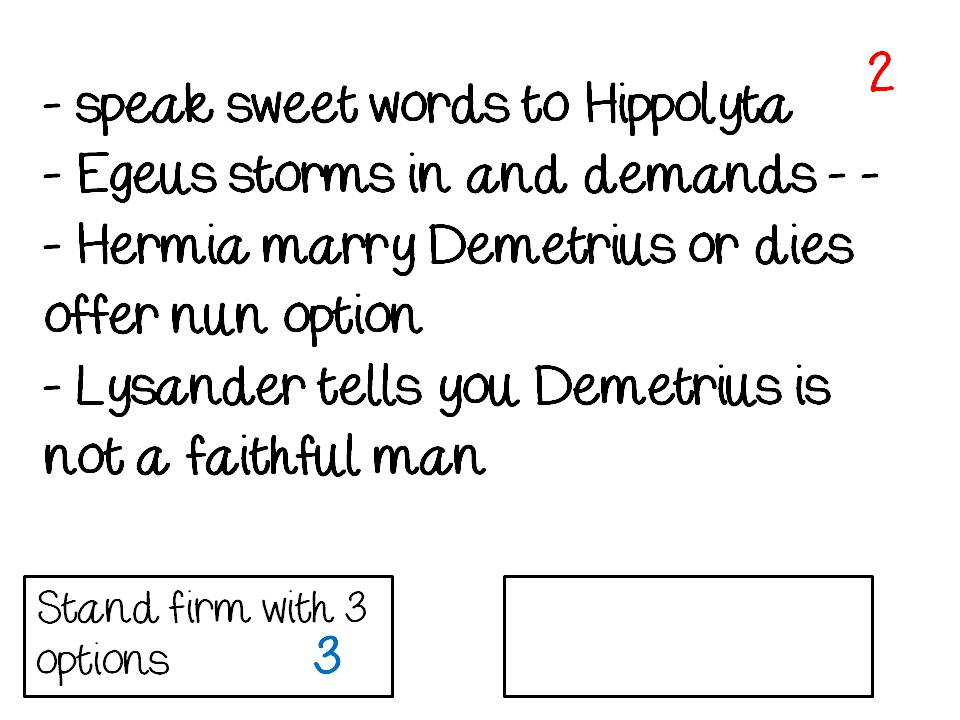
Here are how my example cards looked. I use cards because each card will match up with the PowerPoint slide. 


Cards: red numbers are what the card is,
blue is the card it will link to.
Card 1: title card


Cards are notes/outline.
Deviation Cards: for day 1,
students are only marking the
plot points that actually
 happened.  The blank is where 
the deviation will be filled in later.


Plot Point Cards: sometimes you
have so much information you
will need to split it up over several
 PPT slides or there is a setting
change. That is when you use 1 button.

Final slide includes the theme.